Advance check-in screens allow your guests to check-in online
In order to setup check-in screens, first you’ll need to create a check-in group.
After giving the group a name, you can select the properties that are in this group. Once that is done, you can set up the options that will apply.
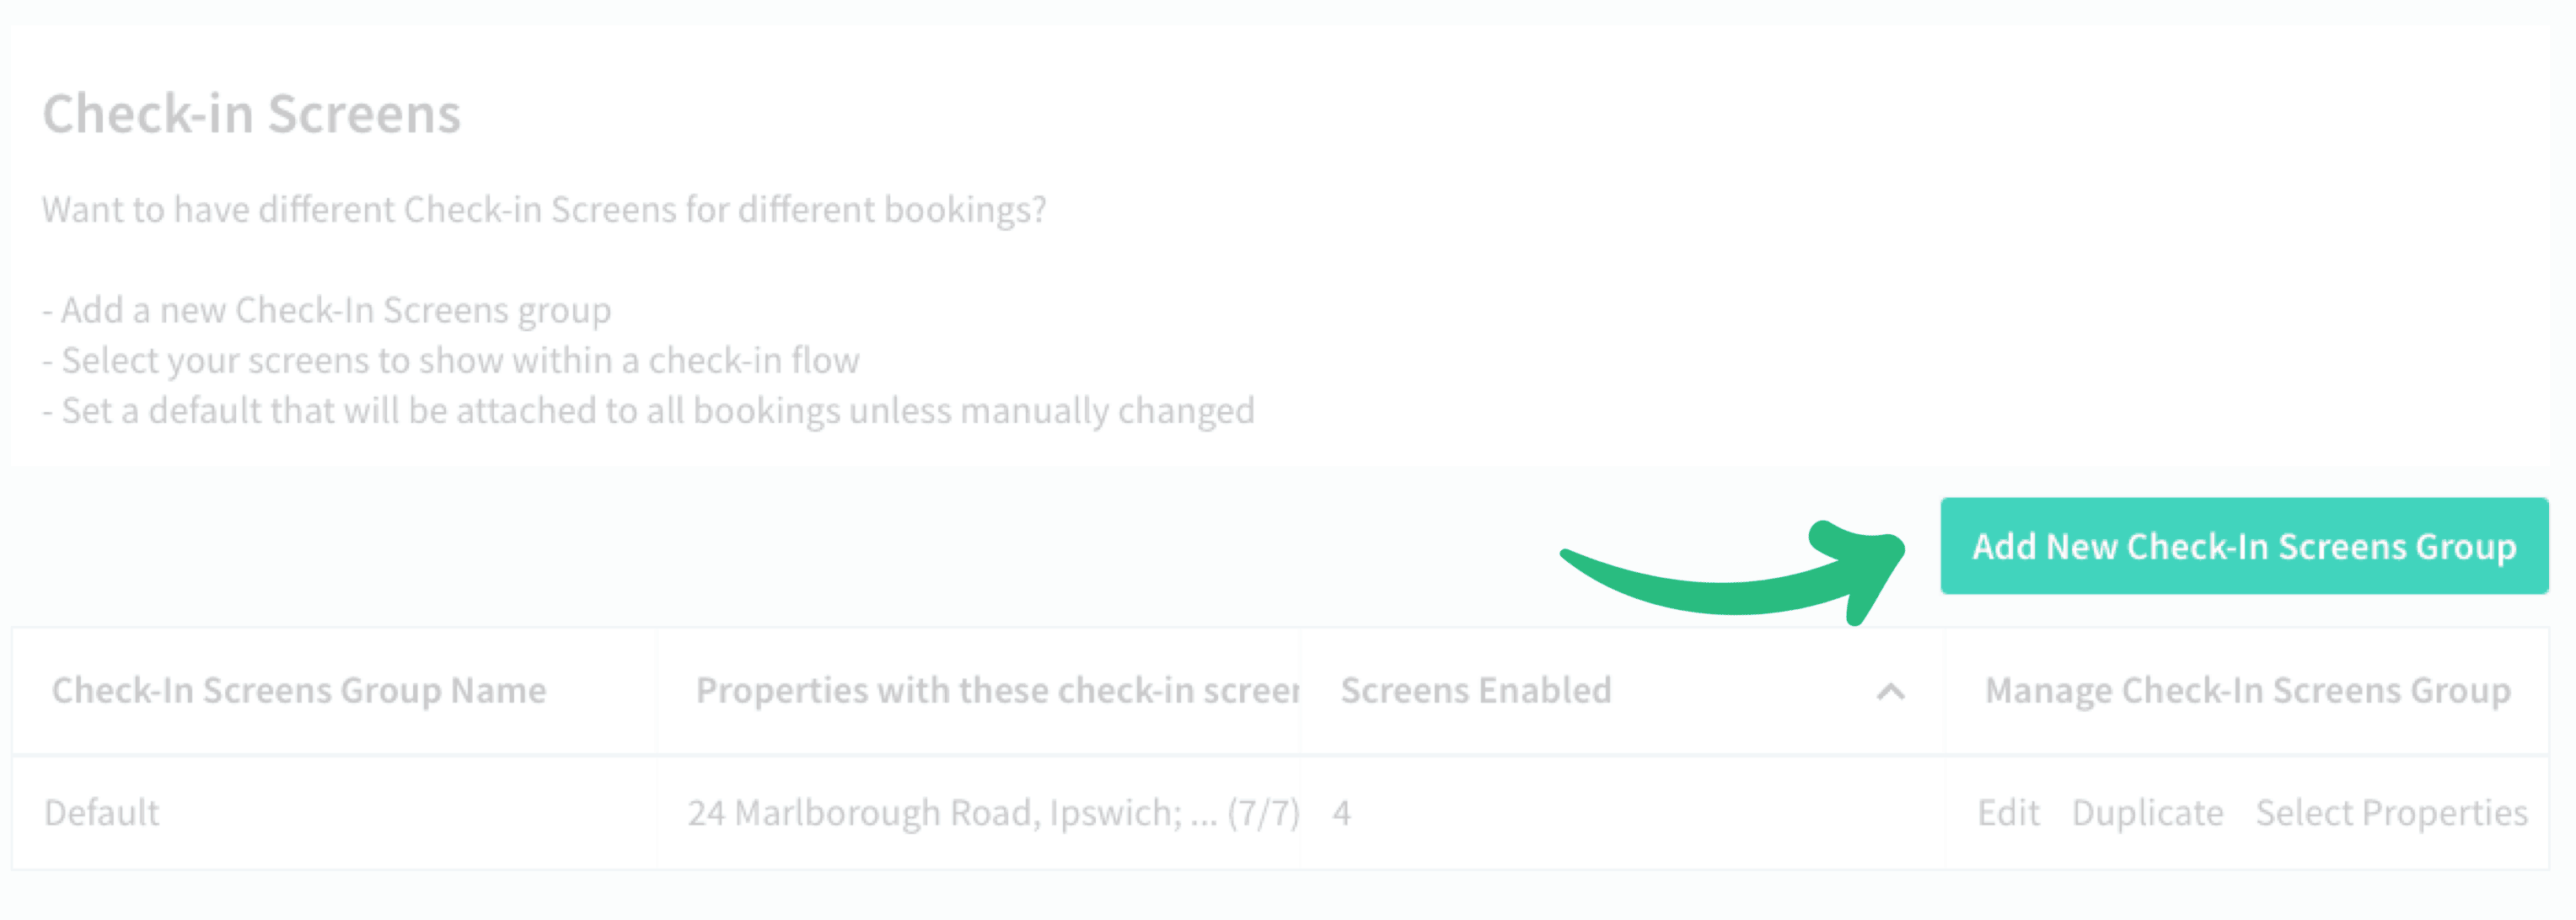
Creating a Check-in Screens group
Check In Screen Options
The screen options allow you to configure which details you require from your guests.
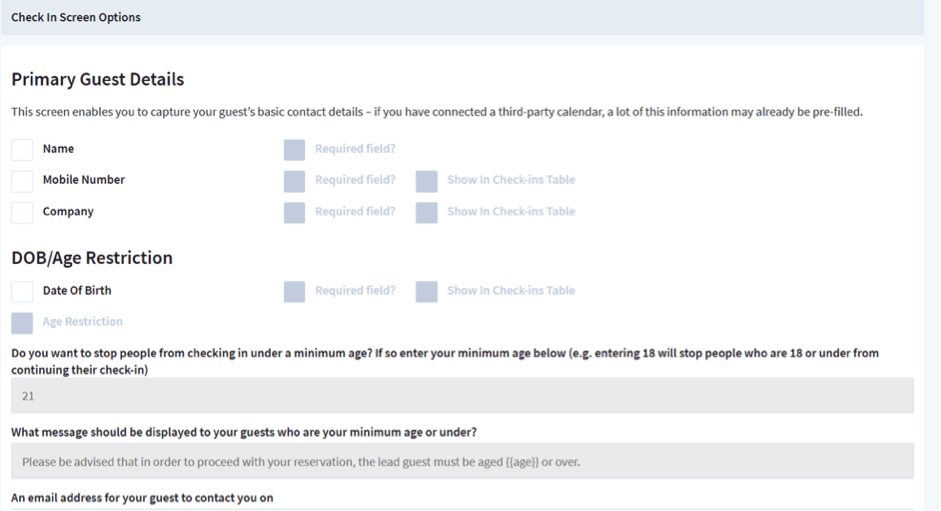
Each check-in section appears as a separate screen to your guests during check-in
What will my guests see during check-in?
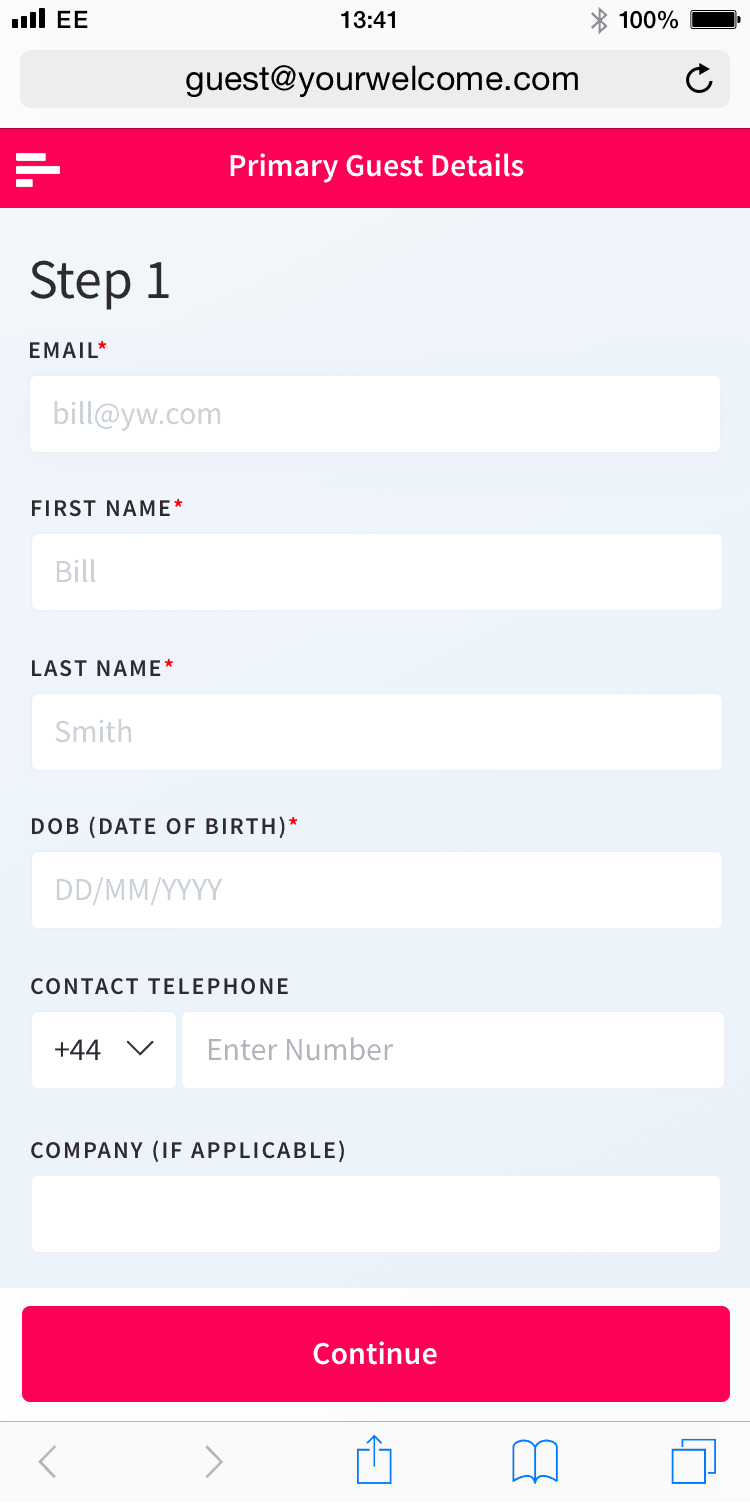
Screen 1. Contact Details
This screen enables you to capture your guest’s basic contact details. If you have connected a third-party calendar, a lot of this information may already be pre-filled (but still editable):
- First name
- Last name
- DOB
- Contact telephone number
- Company
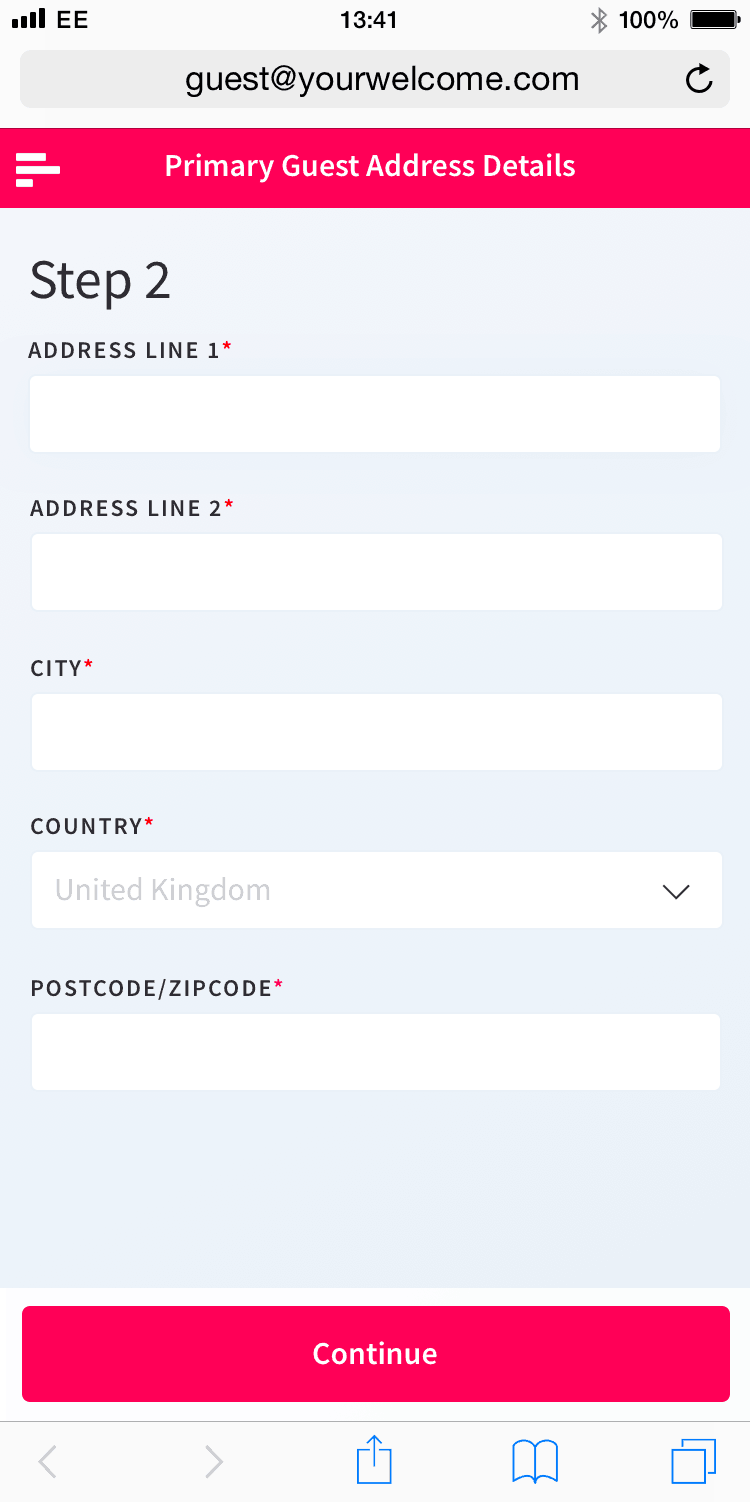
Screen 2. Contact Address
This screen enables you to capture your guest’s home or business address. You can use it to verify their payment details, or (with their permission) for your own marketing purposes. Option include:
- Address line 1
- Address line 2
- City
- Country
- Postcode / Zip code
Screen 3. Identification
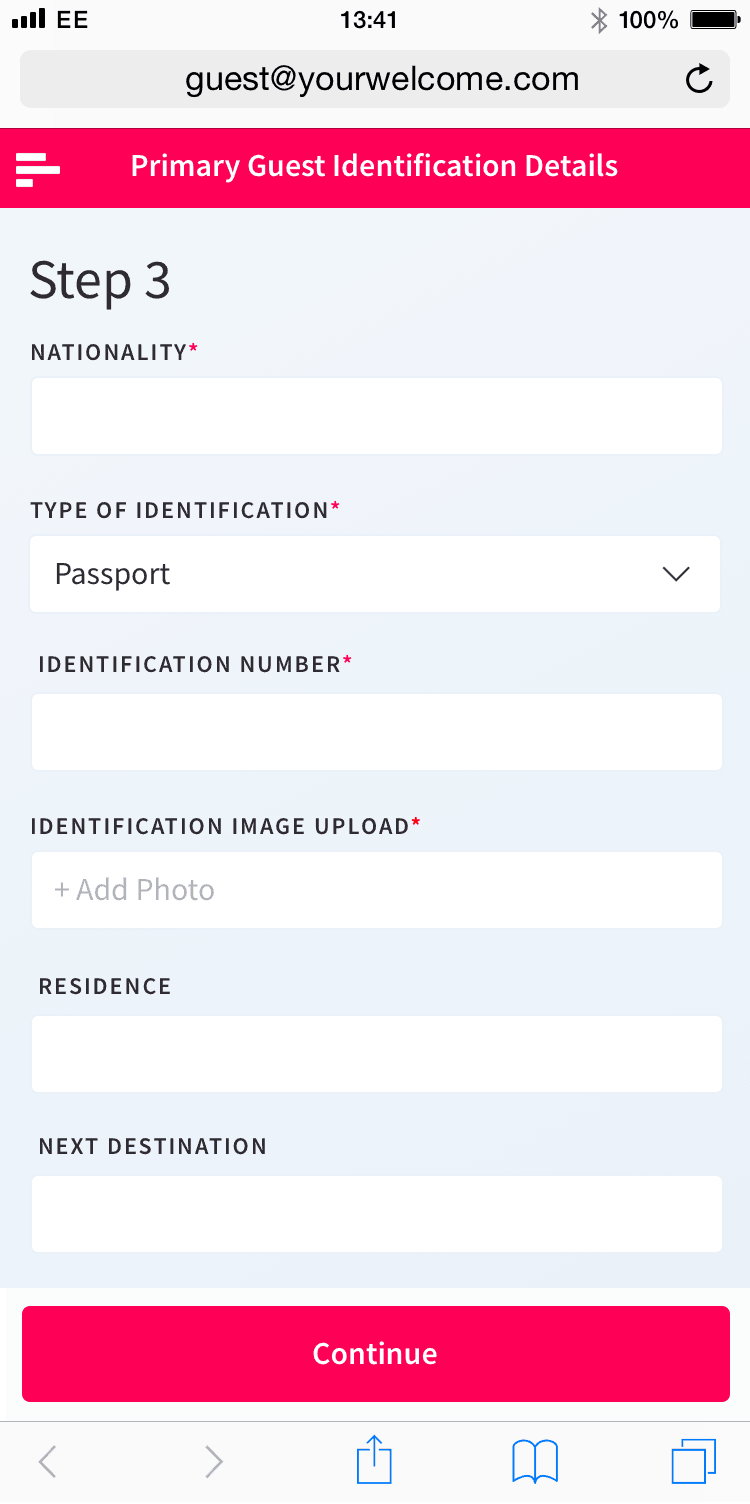
This screen enables you to capture your guest’s identification details, along with a photo of the ID. This information is stored securely and available to you upon request:
- Nationality
- Identification Type (a list including most common ID types)
- Identification Number
- ID Image upload
- Residence
- Next Destination
Screen 4. Additional Guests
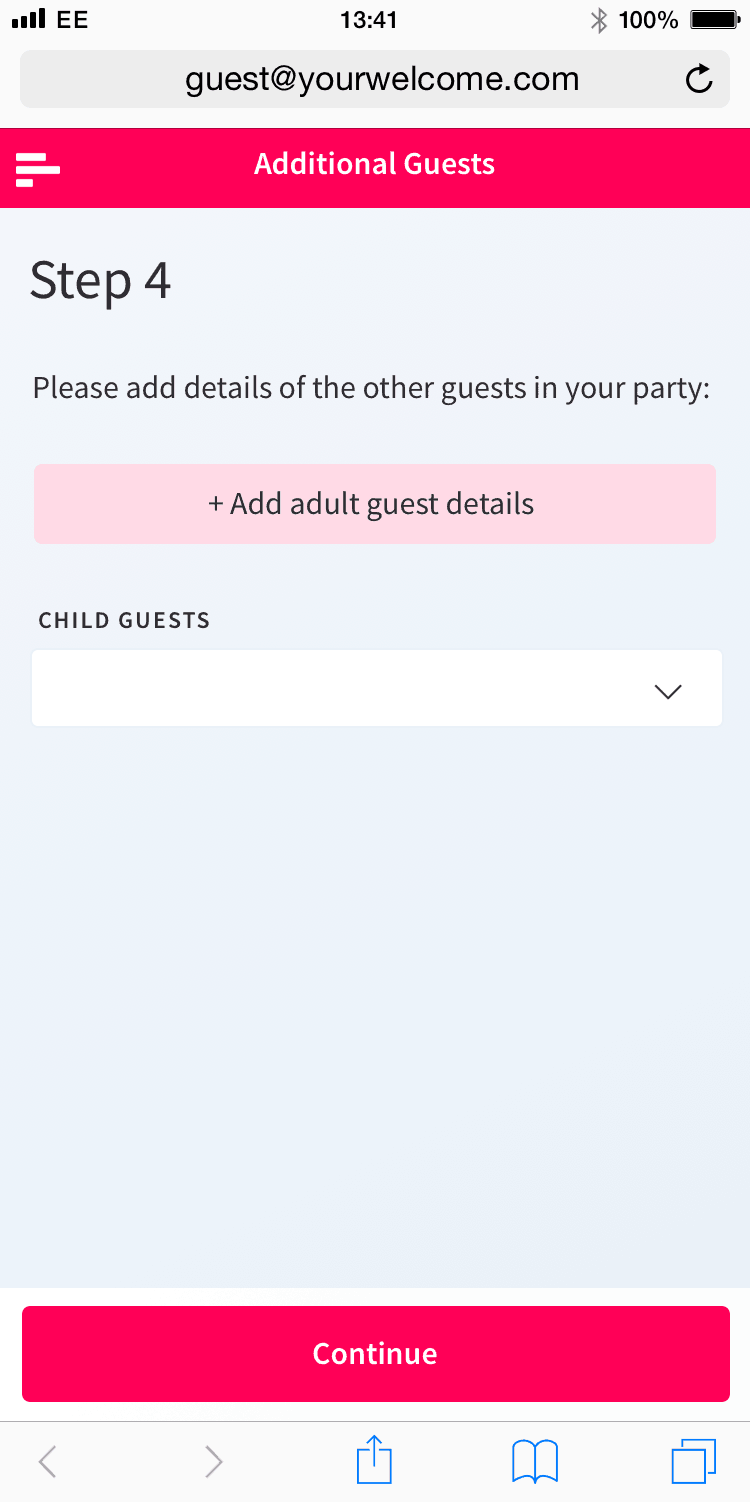
Enabling this option will ask your guests to provide a name and email address for all additional adults staying with them:
- First name
- Last name
- Email address
- Contact telephone number
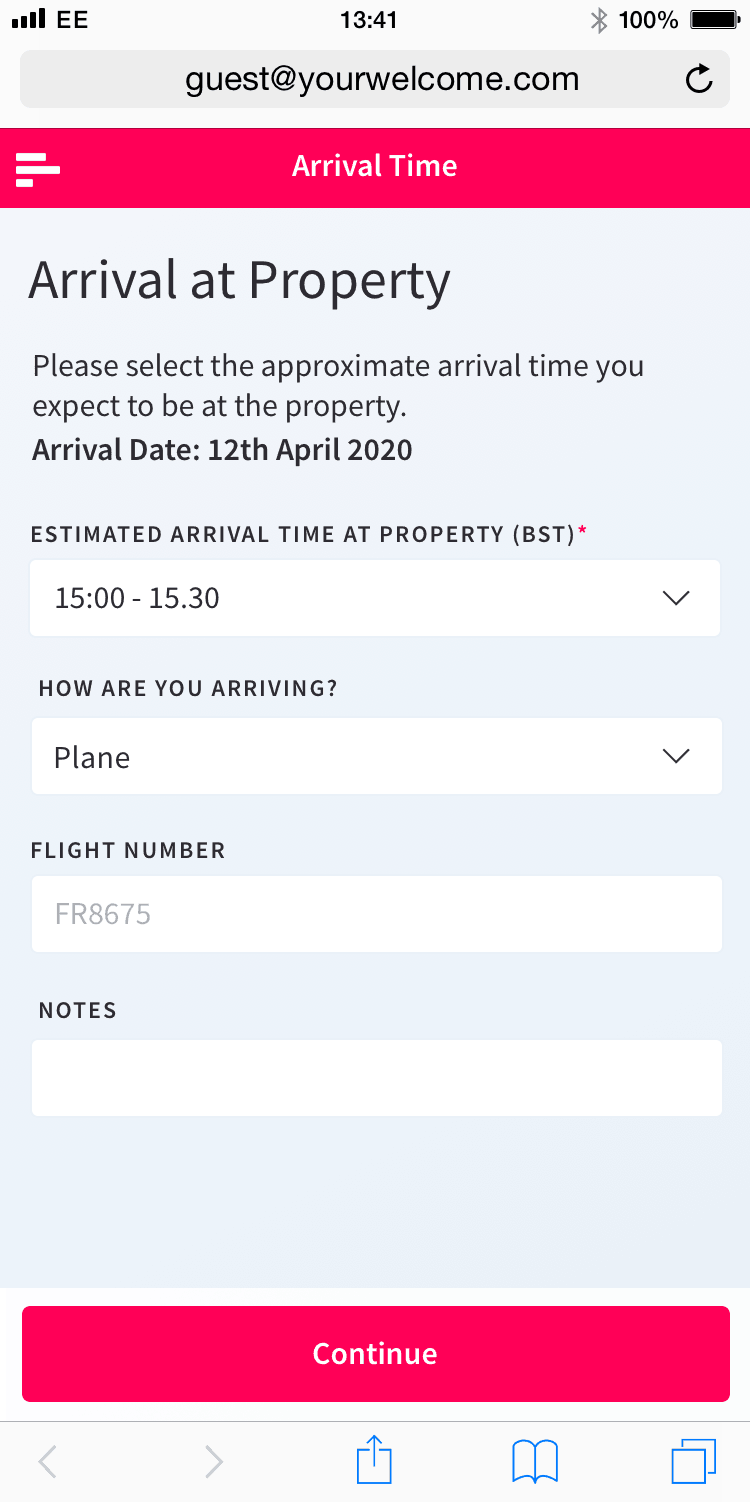
Screen 5. Arrival Time
Ask your guests to supply an accurate time of arrival by enabling the Arrival Time screen:
- Guest ETA
- Method of arrival
- Flight number
- Additional message
