Logos and colours can be added to your guest messaging by using branding templates.
A branding template allows you to control what appears at the top and bottom of every email (called the header and footer), as well as styling the content.

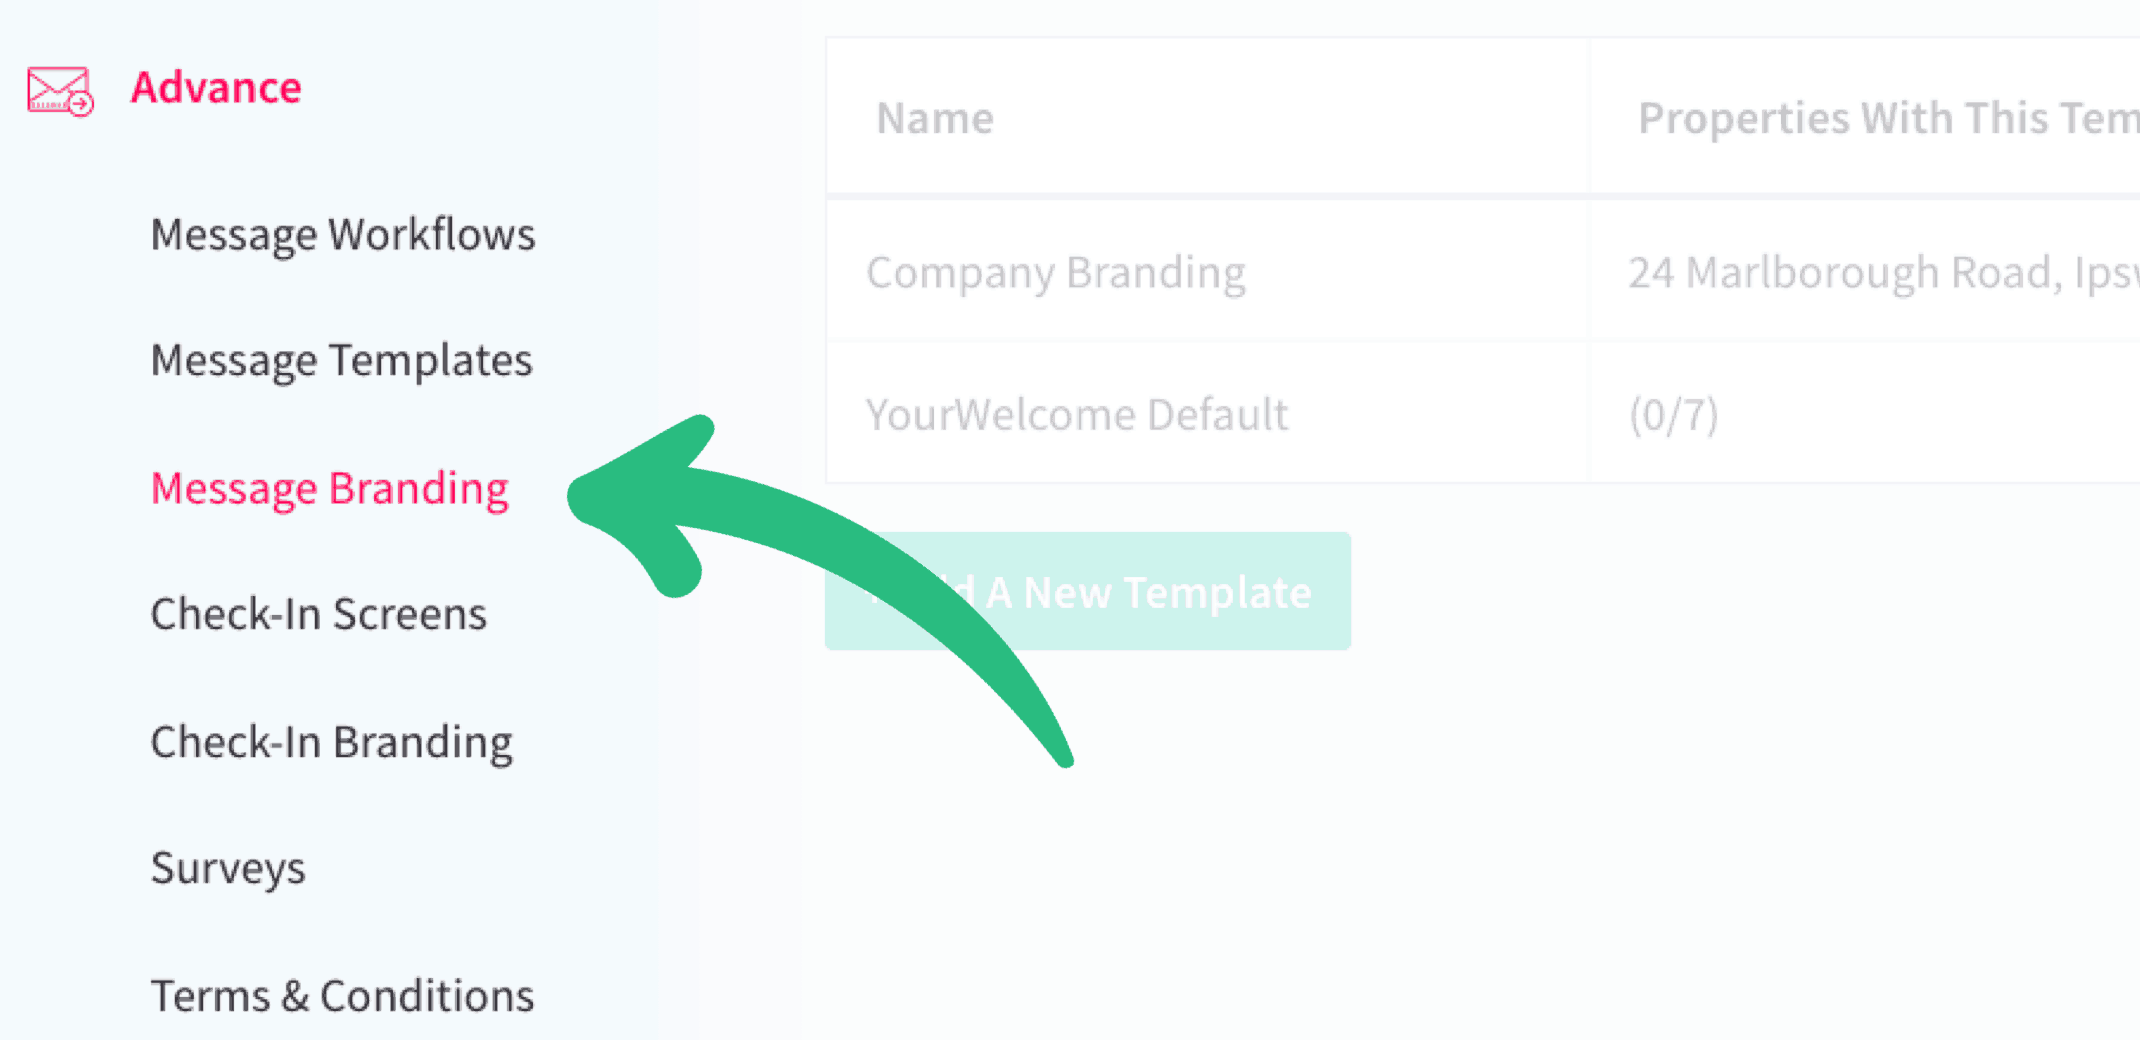
Message Branding is located in the Advance section of the dashboard
You can even apply multiple brands – so if you have premium and standard properties, you might want to apply a different branding template to each. This way, your premium guest emails can look and feel different to those sent to your other guests.
Branding templates can include:
- words and formatting
- company logo
- button colours
- links
- pre-populated booking information (such as check-in time)
Creating a new branding template
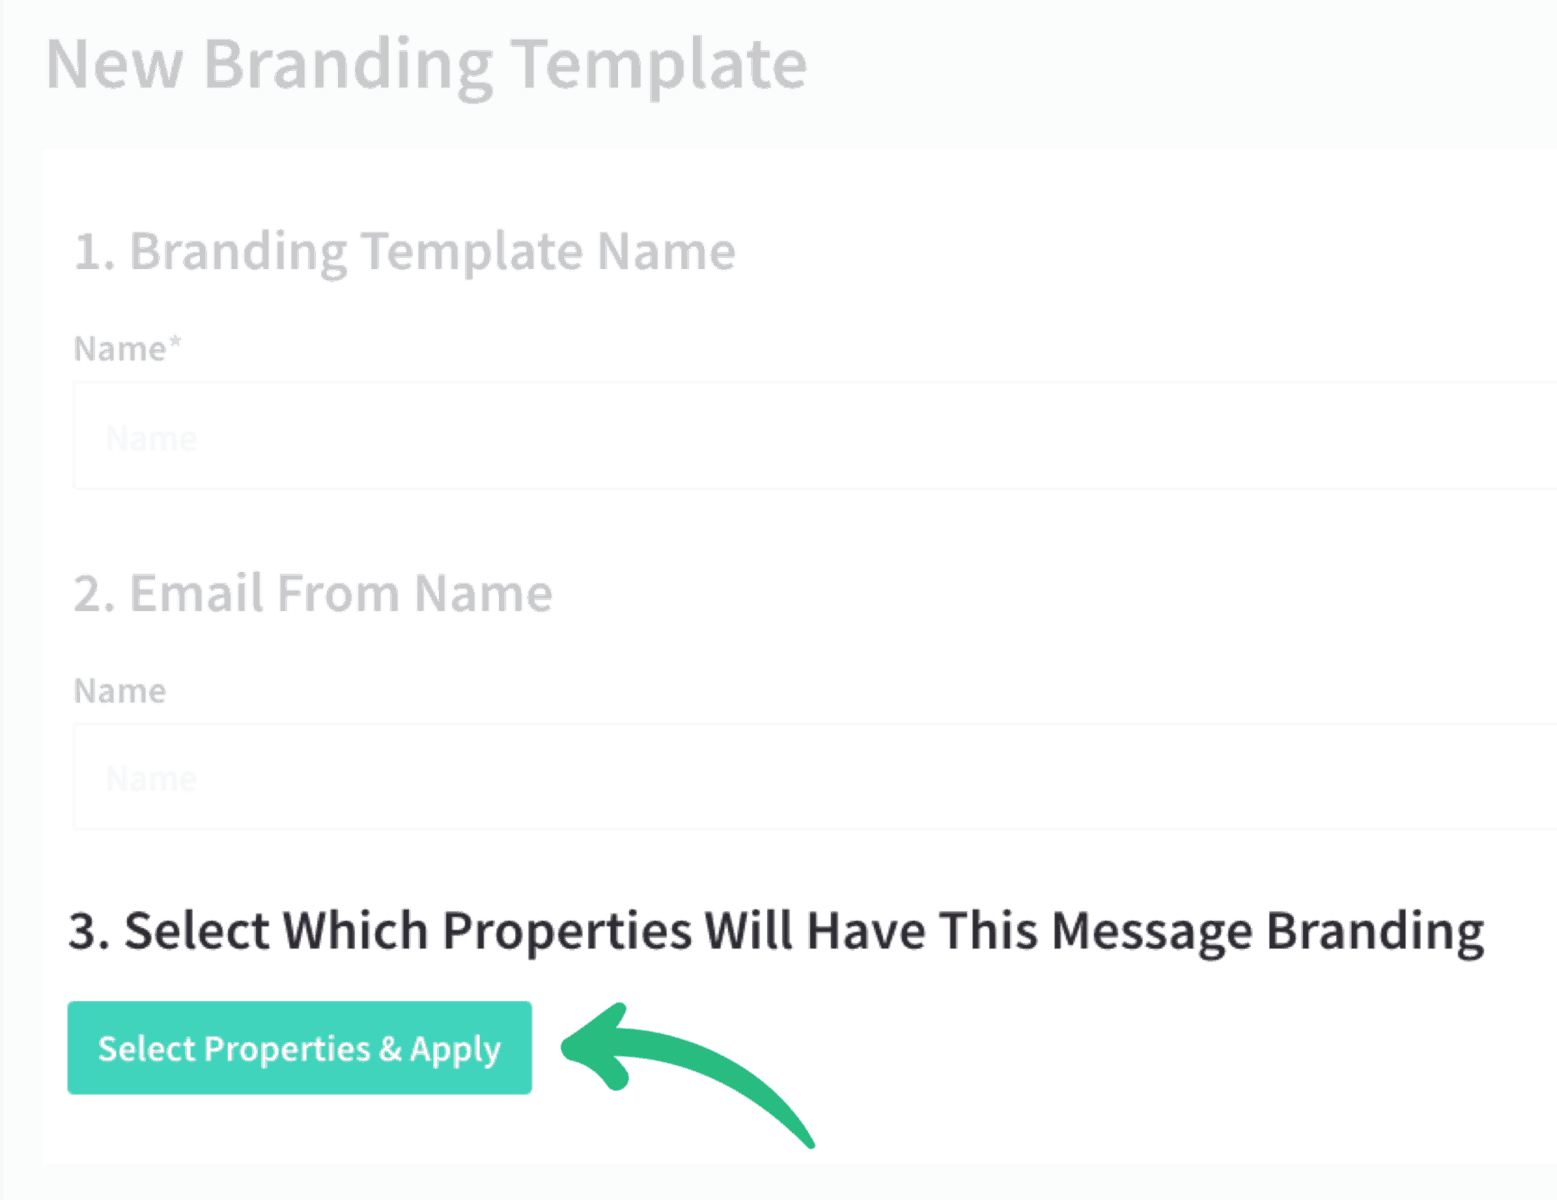
When creating a new branding template, you add a template name (so you can refer to it later) and the sender name (this is who the email will appear to come from), then you apply it to specific properties.
Now you can edit the email header and footer email layout as needed. You can also add custom CSS code if needed (it rarely is).
Don’t forget to save your template!
There’s a preview area at the bottom of the screen where you can see the effect of your changes immediately.

Applying the branding template to your properties
Sending a test email message

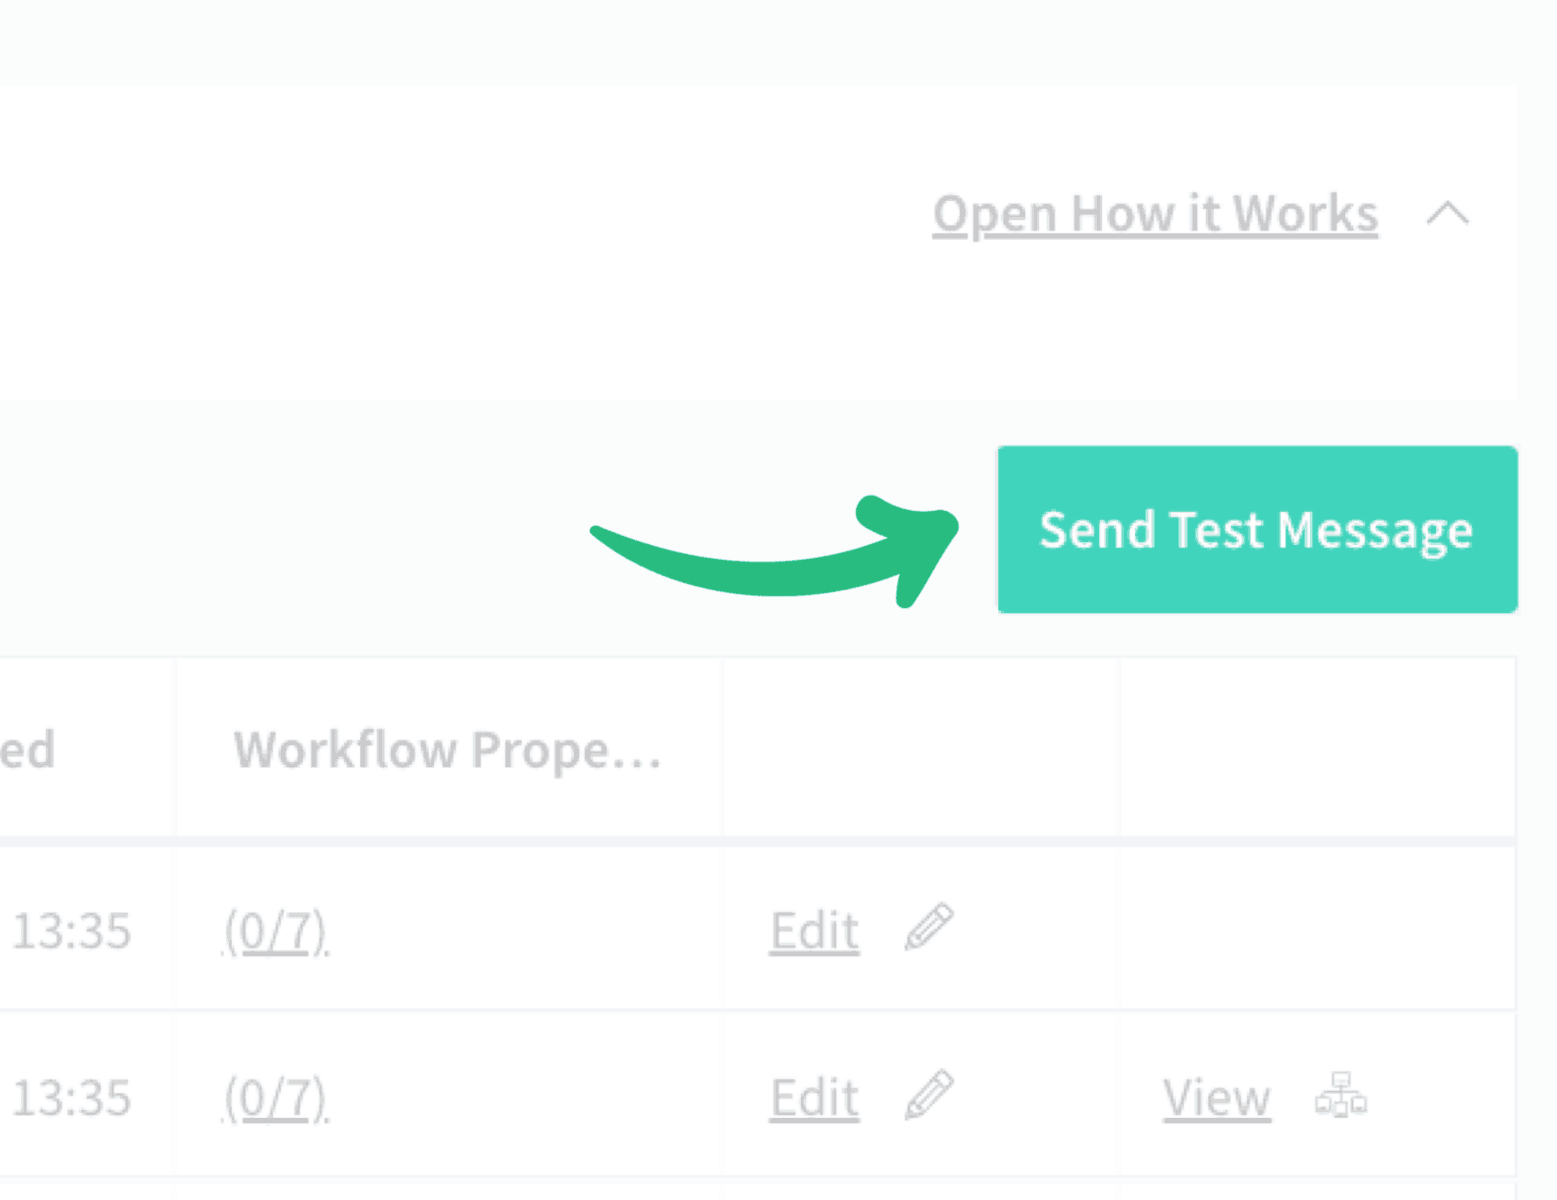
Sending a test message
After you’ve set up your branding template, we suggest you preview the branding with a message by sending yourself a test message.
This can be found in the Advance Message Templates menu. You can choose:
- a specific message (or workflow) for the content
- which branding template to use
- email recipient/s

